User Types: Regulators, Sponsors, Employer Administrators
Notes:
- When accounts are created, all participants have the default status of ACTIVE. Only active participants appear on Participant lists.
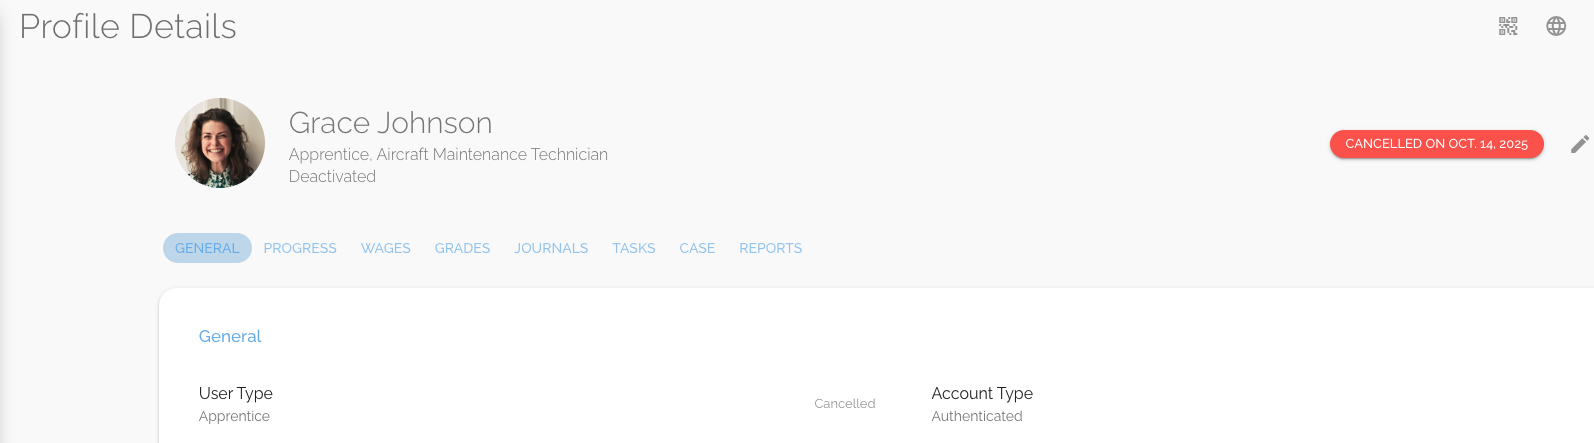
- When a participant's status is change to suspended, cancelled, or completed, their account will be removed from the active Participant list. It can still be viewed and managed by filtering the participant list and selecting a different status list to view.
- Participant Statuses are listed below. While clients can use them as they prefer, below are their general uses.
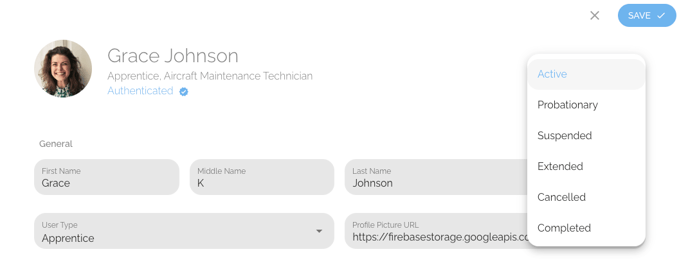
- Active - Participant is enrolled and working toward completing the program
- Cancelled (inactive) - Participant has chosen not to continue
- Suspended (inactive) - The sponsor/employer has temporarily or permanently ended the program or the participant's enrollment in it
- Completed (inactive) - Participant has completed the program
Status can be updated in two ways, both of which are shown below. If the status, date of change, and reason for the change are the same for multiple participants, you may want to use Batch Edit Status. If it varies across participants, you may want to edit status
1) Batch Edit Status - Use to make the SAME status change for more than one participant at the same time.
2) Profile Details Status Edit - Use to edit one participant's status on their profile details page
Batch Edit Status
Step 1. Navigate to a Participant List & Select the Participant(s) Who Require a New Status
- Click the white box to the left of the participant's name to select them or click the white box next to Name at the top of the list to select all the participants on the current page.
- When you click at least 1 box, the blue ACTIONS button at the top will appear.

Step 2. Click Actions and Select the appropriate status
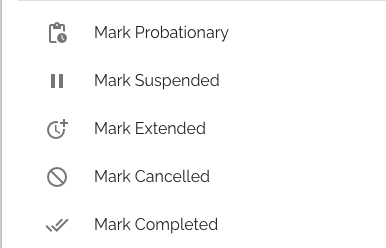
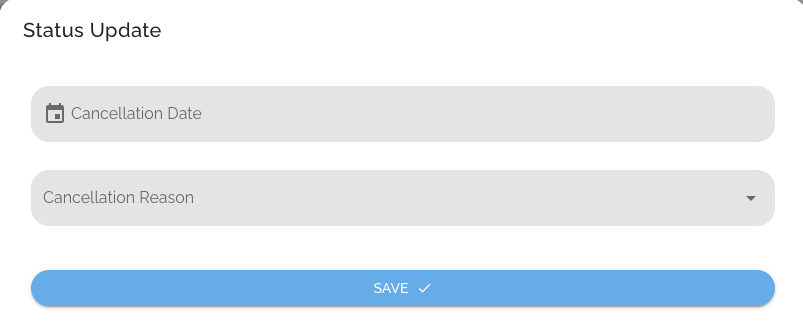
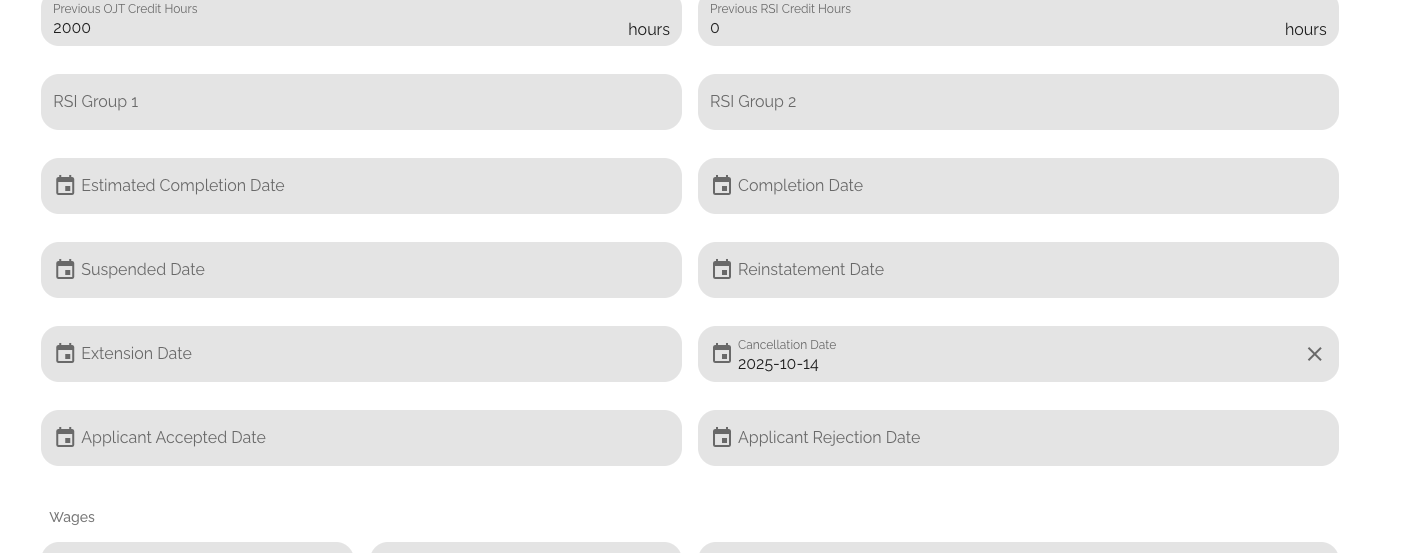
When you click the new status, the system will then allow you enter information specific to that status - date of status change and a reason. If you leave these blank, the system will input today's date and leave the reason blank. If you input a date and reason, the date will appear for all the participants selected on their Profile Details - General tab. The reason can be pulled, along with status and date, into Custom Reports.
Profile Details Status Edit
Step 1: Navigate to a Participant's Profile Details page & Click the Pencil/Edit Icon

Step 2: Use the Status Drop Down to Select the Correct Status

- After you select the new status, the system will allow you to input the official date you would like documented for that status change and for some statuses input a reason for the status change. You can leave these fields blank. Dates appear on the participants' Profile - General tab. Reasons can be pulled into Custom Reports.
Step 4: Click Save
If you have questions or need help, please submit a Support Ticket here.